Kinda late post. I had it up on the tube for quite a while already before this post. Anyway, I’d be continuing doing these process videos for personal pieces for as long as I can. This is my only way of tracking my progress while giving back to the art community so hopefully other people could get something from it.
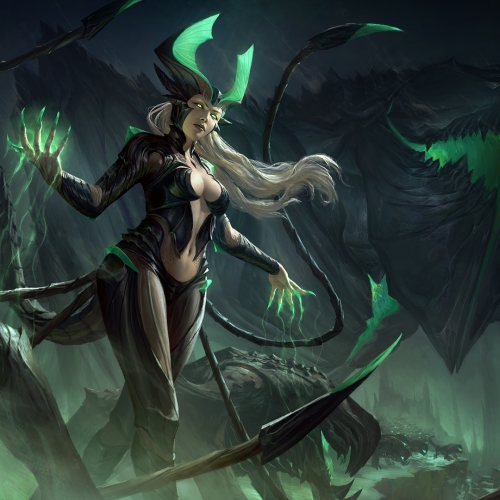
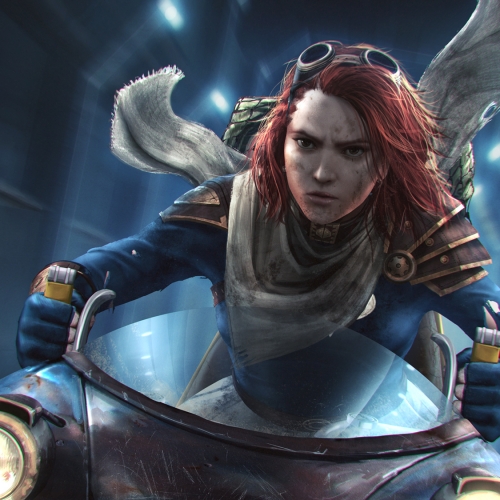
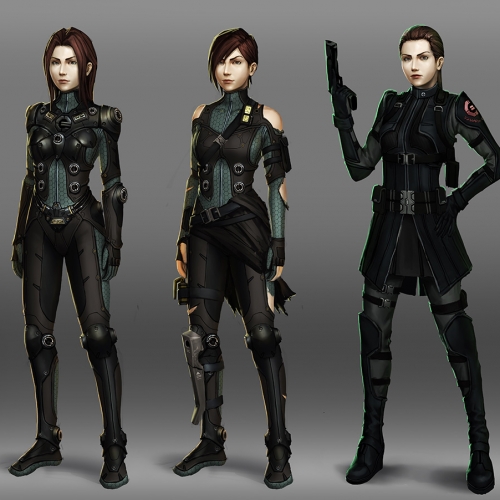
This venom fan art was based on allentotingski.deviantart.com ‘s unfinished sketch. Didn’t put the logo at the chest coz it’s too distracting for me.
*************************************************************************
Here are a few relevant tips for digipainting stuff like this:
-As Brad Rigney would have it, I used color dodge, textured brushes, smudge tool, and accented edges to make this image. I used accented edges to darken edges to make details feel like they’re really embossed. I do this on a duplicate layer then I erase the parts where the effect looks bad.
– Flipping the canvas horizontal is already a common practice to check for mistakes but this time, flipping vertically proved to be very useful especially for hands.
-Be careful of specular highlights. Try to simplify forms into simpler shapes like spheres and cylinders before you decide on where to put the highlights.
-Rim lights again to save your ass!
*************************************************************************
Did this venom fanart one day in around 6hrs.
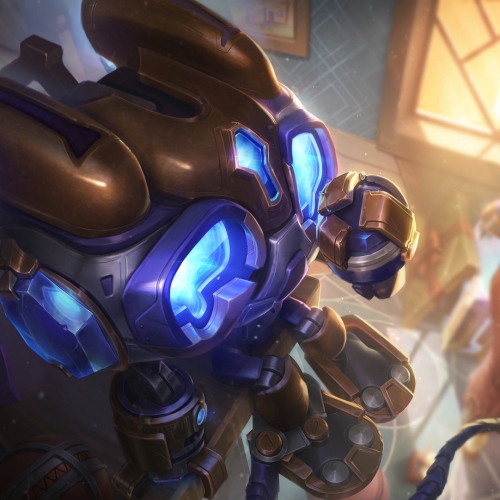
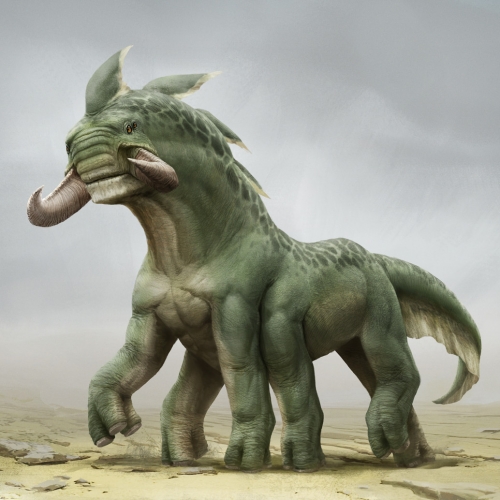
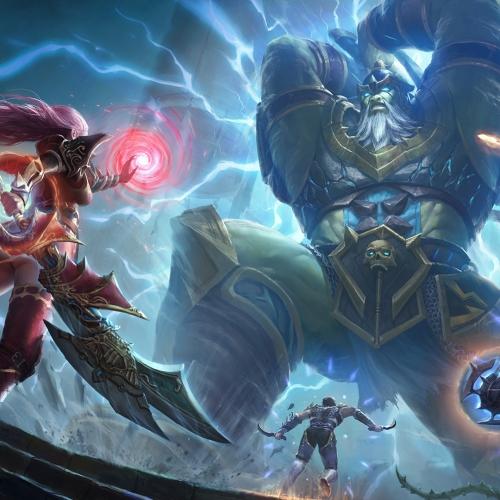
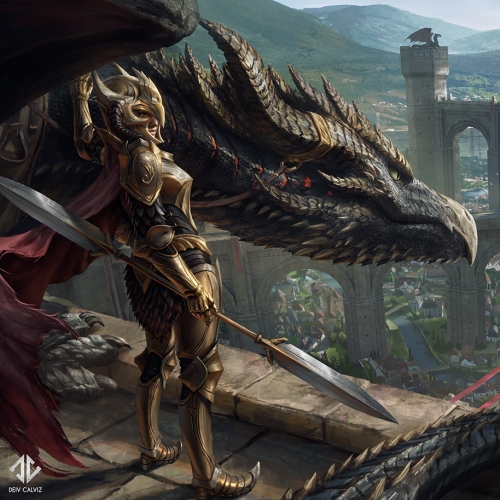
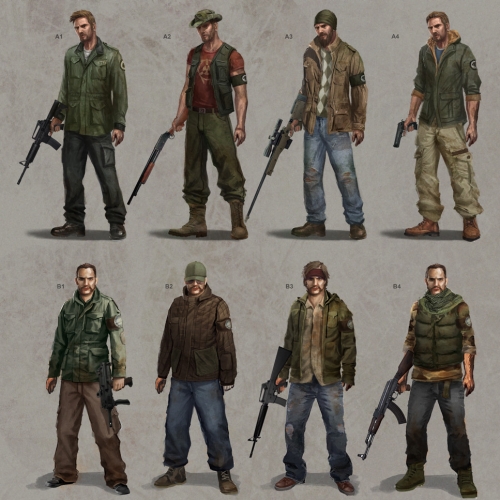
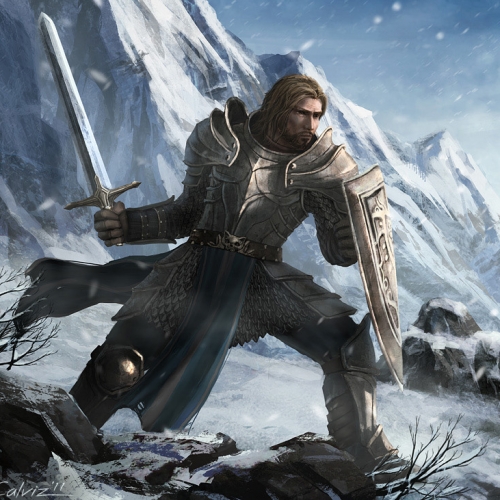
I decided to make this image for practice and as a new portfolio piece just because I am a huge fan of the concept artists at Blizzard Entertainment. I think I got inspired by their rough monster concepts for Diablo 3.
I just wanted to redesign a typical demon with a trident.
*************************************************************************
Here are a few relevant tips for digipainting stuff like this:
– Creating a reference Sphere can help you keep a consistent palette and lighting for your subject.
-Lighting an external scene as if it was in a studio can help to create interesting moods.
-As usual, nail the lighting and palette as early as you can. I find that using the “replace color” feature is extremely helpful in the earlier stages to set the lighting. All the details can change later on. Once you’ve done this, it would be easier to zoom in for the details without losing the lighting you’ve set.
-Exaggerate depth by putting fog and particles. Our brains are trained to view things that are faded as being farther away. I exaggerated this technique on the tail and the farther limbs to give depth.
*************************************************************************
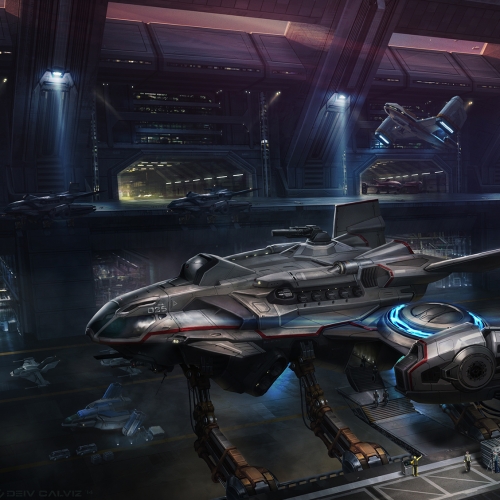
Thanks for watching!
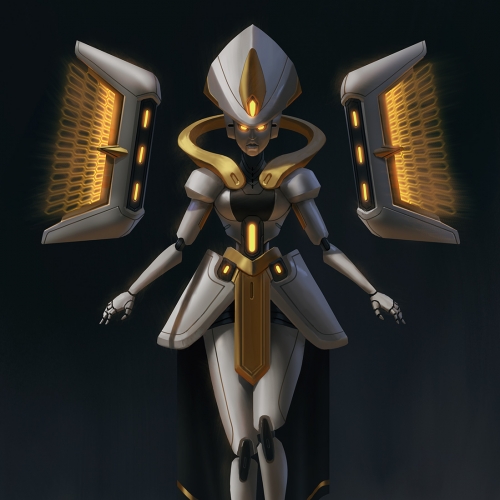
Did this one in around 13hrs. (lol at the number) Next real update in a few minutes.


Leave a Reply